How to Carve a Turkey: Step-by-Step Guide for Clean Slices
- Rest a whole turkey at least 20 minutes (USDA); most test kitchens rest it 30 minutes before carving.
- Carve in this order: legs and thighs, wings, whole breast halves, then slice the breast crosswise against the grain.
- Refrigerate carved leftovers within 2 hours and use them within 3 to 4 days.
- Before you carve: rest the turkey
- What you need
- How to carve a turkey, step by step
- Carving order at a glance
- Carving at the table
- Tips that make carving easier
- How to carve a turkey breast
- How to carve a spatchcock, smoked or fried turkey
- Keeping carved turkey warm and safe
- What to do with the carcass and leftovers
- Common carving mistakes
- How many servings to expect
To carve a turkey, let it rest for 20 to 30 minutes, then take it apart in this order: remove each leg and thigh, remove the wings, cut each breast half off the bone in one piece, and slice the breast crosswise against the grain. Separate the drumsticks from the thighs and slice the thigh meat off the bone. The whole job takes about 10 to 15 minutes with a sharp knife and is far easier in the kitchen than at the table.
The method below is the one test kitchens teach, because lifting the breast off the carcass before slicing gives neat, even pieces with skin on every slice. Slicing directly off the bird in front of guests looks traditional but produces ragged slices cut along the grain, and the meat cools while you work.
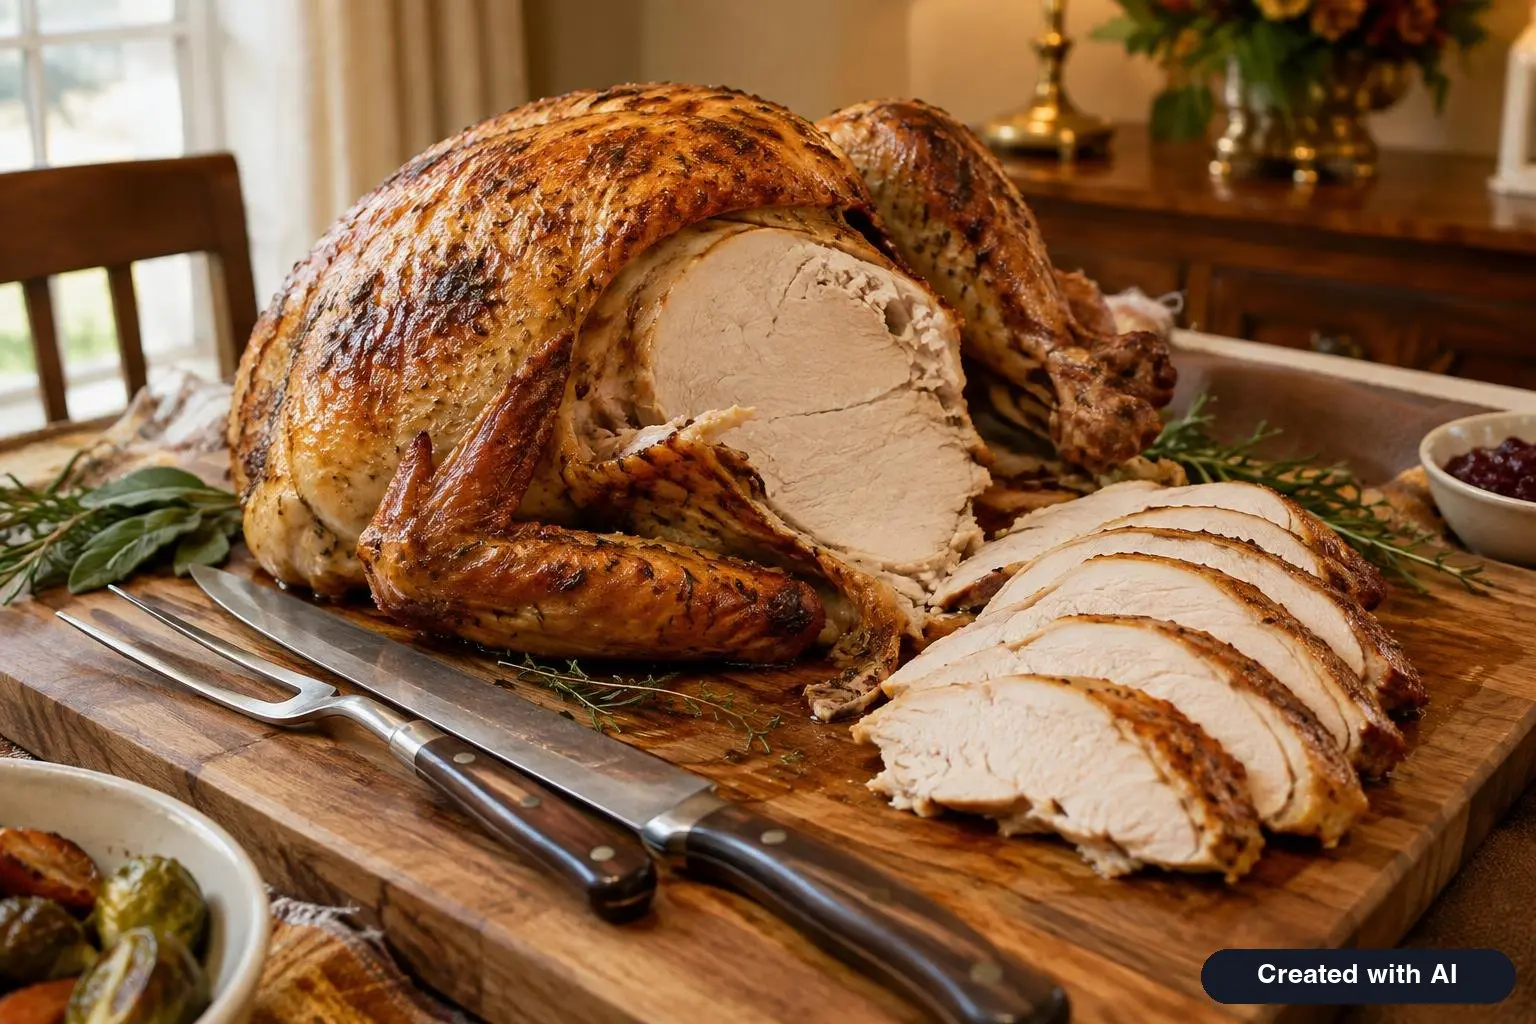
Before you carve: rest the turkey
USDA's guidance is to let a roast turkey stand for 20 minutes before carving so the juices can set; it also makes the bird easier to carve. Test kitchens generally go a little longer. The Kitchn and McCormick's test kitchen both call for at least 30 minutes for a whole bird. A turkey breast needs 15 to 20 minutes.
Resting matters for three reasons:
- The juices thicken slightly as the meat cools from oven temperature, so more stays in the slices and less runs onto the board.
- The internal temperature keeps rising for several minutes after the turkey leaves the oven.
- The bird cools enough to handle. You will be using your hands.
Covered or uncovered? A loose foil tent holds heat. McCormick's test kitchen advises against covering the turkey at all, because trapped steam softens the skin. If crisp skin matters most to you, leave it uncovered; a whole turkey holds its heat well for half an hour either way. Never wrap it tightly.
Use the resting time to make gravy from the pan drippings and to finish the side dishes in the freed-up oven.
What you need
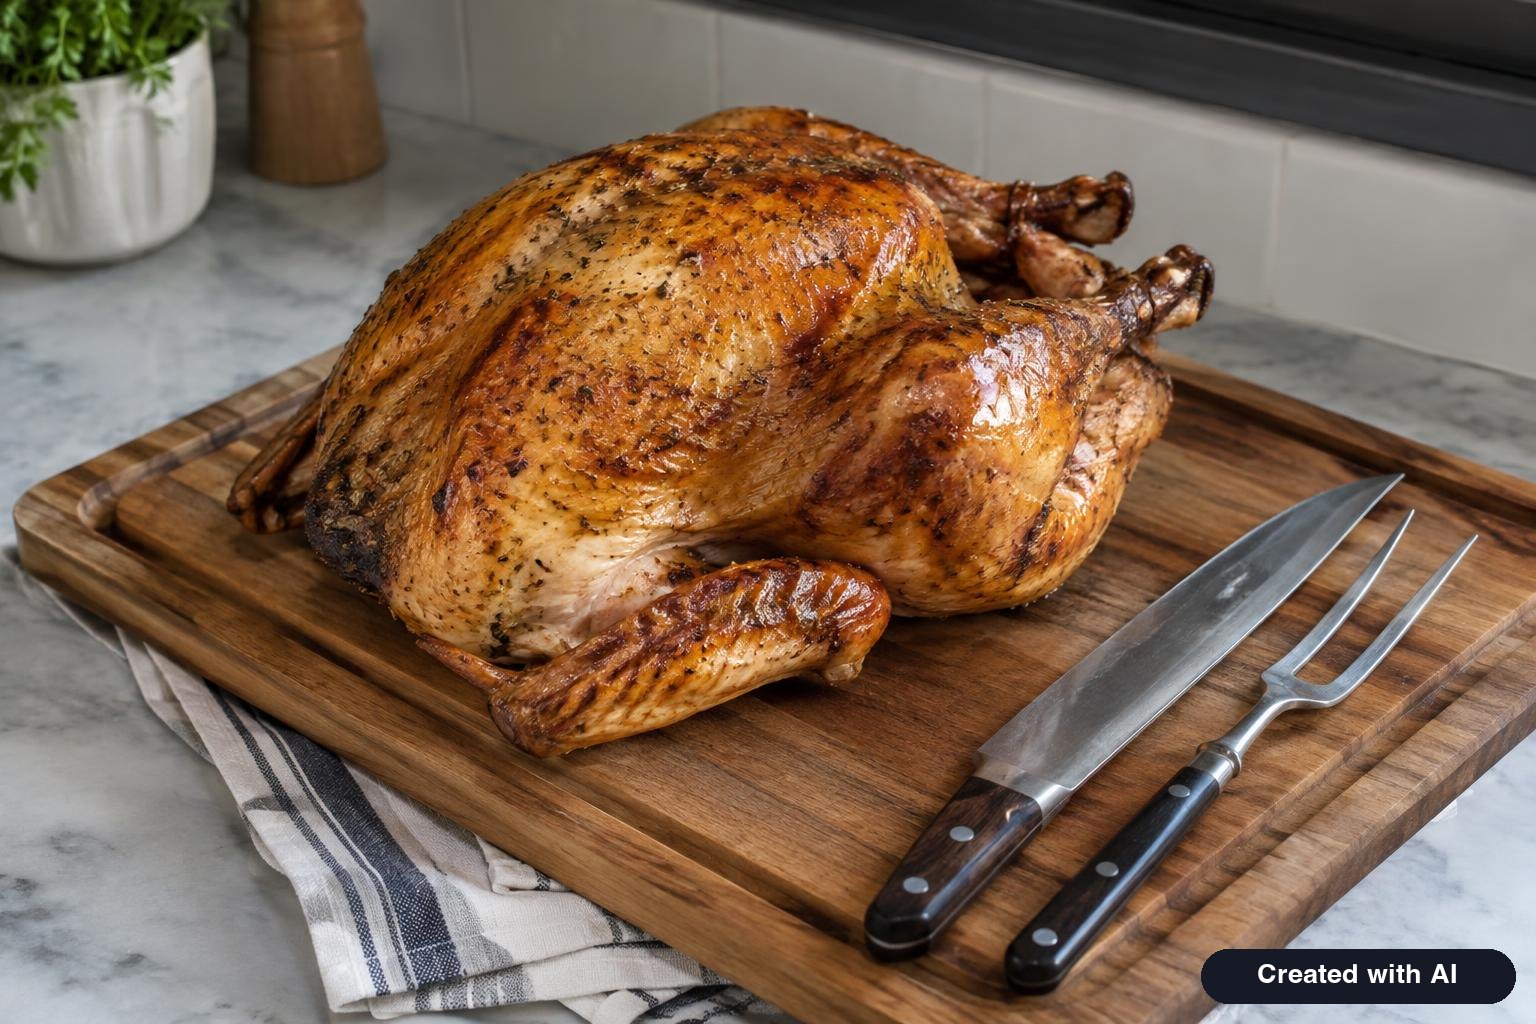
- A sharp knife. An 8- to 10-inch chef's knife or a long slicing knife does the whole job. A thin boning knife is helpful for working around joints. Sharpness matters more than the type; a dull blade tears the skin off the breast.
- A large cutting board, ideally with a groove around the edge to catch juices. Set it inside a rimmed baking sheet if it has no groove.
- A damp kitchen towel under the board so it cannot slide.
- A carving fork or tongs to steady the bird. Clean hands and a folded paper towel work just as well on hot joints.
- A warm platter. Run it under hot water and dry it, or put it in a low oven for a few minutes.
- A bowl for bones and trimmings.
Use a clean board and clean utensils. Anything that touched the raw turkey has to be washed with hot soapy water before it touches cooked meat.
An electric knife is fine for slicing the breast once it is off the bone. It is less useful for getting through joints, where a regular knife gives more control.
How to carve a turkey, step by step
Step 1: Set up
Remove any string or truss. If the turkey was stuffed, spoon all of the stuffing into a serving bowl first; USDA says to remove stuffing from the cavity after the 20-minute stand. Place the turkey breast side up on the board with the legs pointing toward you.
Step 2: Remove the legs
Slice through the skin between the breast and one leg. Press the leg outward and down until the hip joint pops out of its socket. Cut straight through that joint, which is soft cartilage, not bone, keeping the knife close to the body so the "oyster" of meat on the back comes away with the thigh. Repeat on the other side.
Step 3: Remove the wings
Pull each wing away from the body, find the shoulder joint with the tip of the knife, and cut through it. You may need to wiggle the wing to locate the joint. If you hit hard bone, move the knife a little; a joint always gives.
Step 4: Remove each breast half
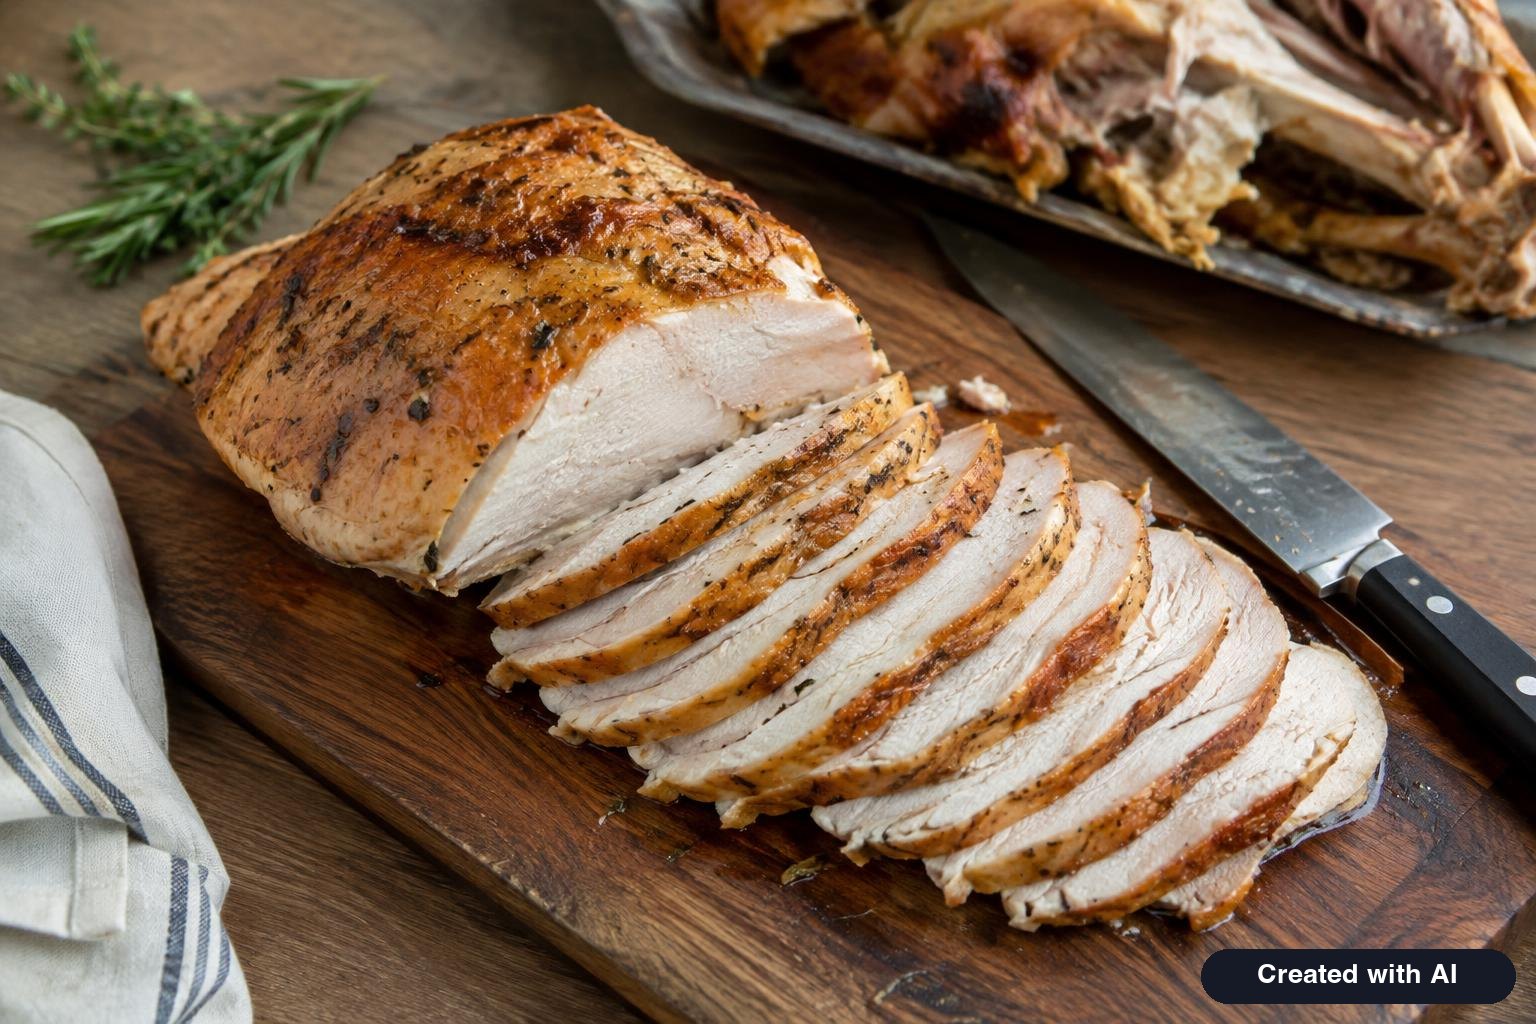
Find the breastbone, the ridge running down the center. Make a long cut just to one side of it, from the neck end to the tail end. Keep cutting downward with long strokes, letting the blade follow the curve of the rib cage, while you ease the meat away with your other hand. When you reach the bottom, cut through the skin and lift the whole breast half off in one piece. Repeat on the other side.
A horizontal cut at the base of the breast, just above where the wing was attached, makes the breast release more cleanly.
Step 5: Slice the breast
Lay a breast half on the board skin side up. Slice it crosswise, across the grain, into pieces about ½ inch thick, starting at the thin end. Cutting against the grain shortens the muscle fibers so each bite is tender, and every slice keeps its strip of skin. Use long, smooth strokes instead of sawing.
Step 6: Separate drumsticks and thighs
Set a leg skin side down so you can see the line of fat that marks the knee joint. Cut through the joint to separate the drumstick from the thigh. Leave the drumsticks whole.
Step 7: Carve the thighs
Place the thigh skin side down, run the knife along both sides of the bone, and cut the bone out. Turn the meat skin side up and slice it across the grain. Thigh meat is forgiving and stays juicy even in thick slices.
Step 8: Arrange the platter
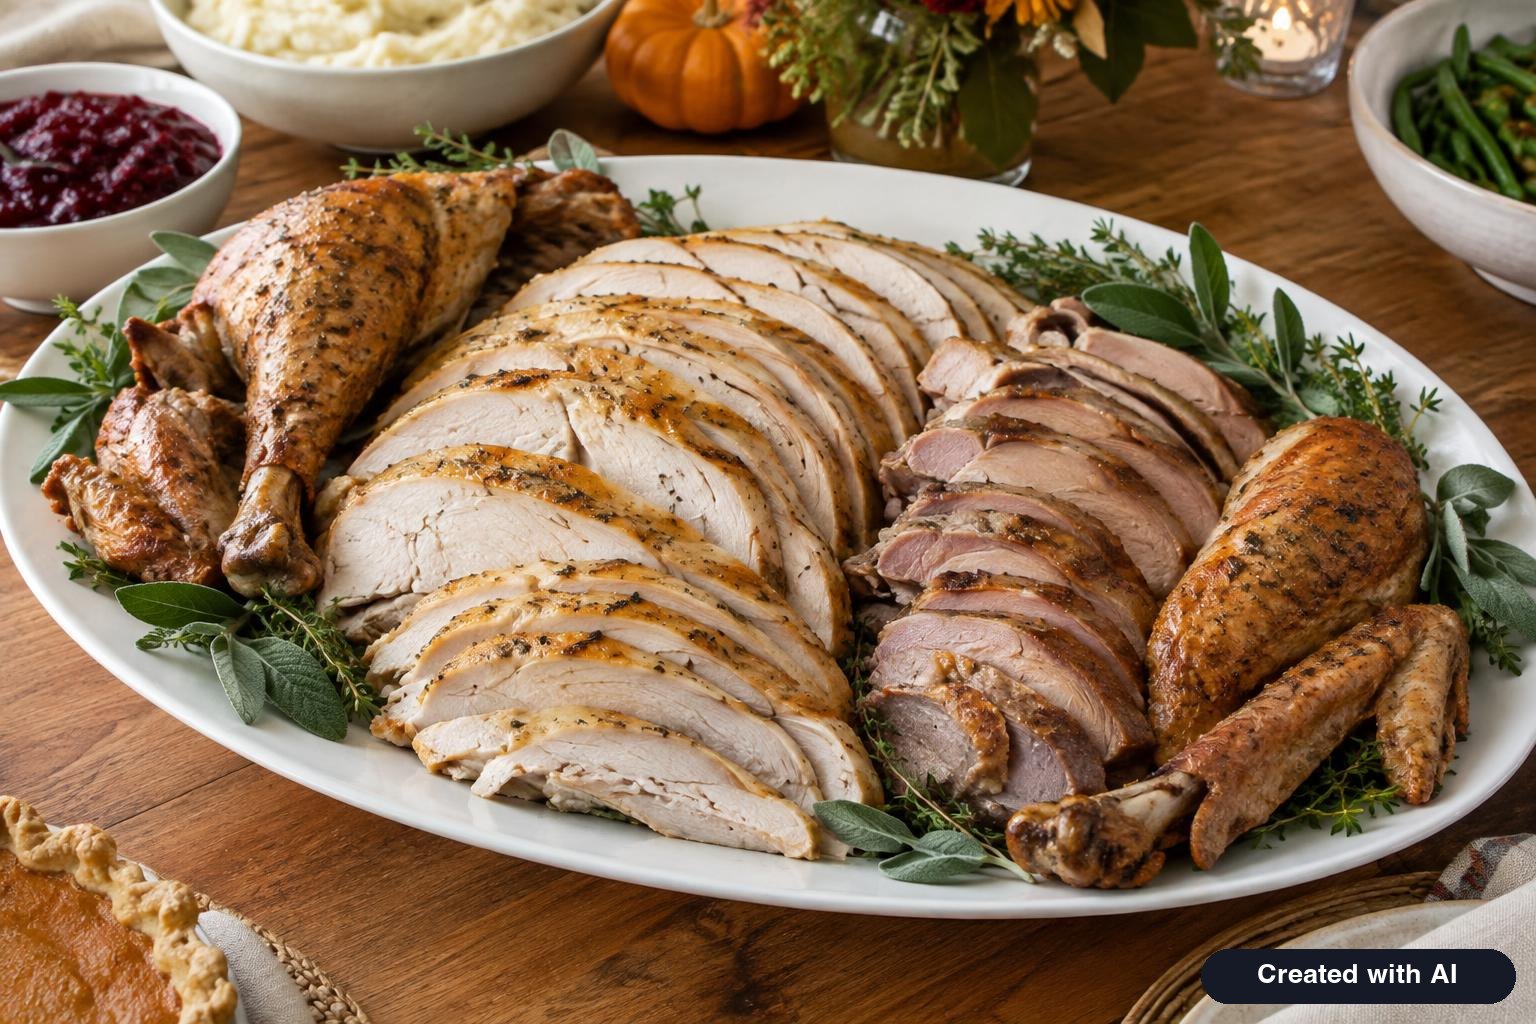
Fan the breast slices in overlapping rows down the center of the warm platter, keeping each half together so it looks like a whole breast. Place the sliced thigh meat on one side and the drumsticks and wings at the ends. Spoon a little hot broth or pan juice over the meat just before serving, and garnish with a few herb sprigs.
Carving order at a glance
| Step | Cut | Where the knife goes |
|---|---|---|
| 1 | Legs and thighs | Through the skin between leg and breast, then through the hip joint |
| 2 | Wings | Through the shoulder joint |
| 3 | Breast halves | Down one side of the breastbone, following the ribs |
| 4 | Breast slices | Crosswise, against the grain, about ½ inch thick |
| 5 | Drumstick from thigh | Through the knee joint, along the line of fat |
| 6 | Thigh meat | Bone out, then sliced across the grain |
Carving at the table
If presenting the whole bird matters to your family, there is a workable compromise. Bring the turkey to the table on its platter, let everyone admire it, then carry it back to the kitchen to carve. Or carve one side fully in the kitchen, arrange the slices on the platter beside the intact half, and bring that out.
If you do carve at the table, take the leg off the side facing you first, then make a deep horizontal cut into the breast just above the wing, all the way to the bone. Slice downward from the top of the breast to that cut, so each slice falls free. The slices will be cut with the grain and less even, but it is the classic look.
Tips that make carving easier
- Remove the wishbone before roasting. The V-shaped bone at the neck end of the breast is what the knife catches on. With the raw bird breast side up, lift the neck skin, feel for the bone, cut along both arms of the V with the tip of a small knife, hook a finger behind it and pull it out. The breast then comes off in one clean piece.
- Find joints, do not cut bones. Every cut that separates parts goes through cartilage. If you are forcing the knife, you are in the wrong place.
- Bend before you cut. Pulling a leg or wing away from the body exposes the joint.
- Keep paper towels handy for gripping hot, slippery pieces.
- Carve only what you need. Meat left on the bone, or in an unsliced breast half, stays moist far longer than sliced meat.
- Practice on a chicken. The anatomy is identical, and a roast chicken the week before is a low-stakes rehearsal.
How to carve a turkey breast
A bone-in breast is steps 4 and 5 on their own. Rest it 15 to 20 minutes. Cut down along one side of the breastbone, follow the ribs, and lift off the half; some meat will stay on the bone, which is normal. Slice crosswise. A boneless roast is simpler still: remove any netting or string, and slice straight across about ½ inch thick. Cooking times are in turkey breast.
How to carve a spatchcock, smoked or fried turkey
Spatchcocked. The flattened bird is the easiest of all to carve, because it sits flat and the joints are exposed. The order is the same: legs, wings, breast halves, slices. See spatchcock turkey.
Smoked. The skin is often tougher than roasted skin. Use a very sharp knife and cut skin side up with a firm first stroke so the skin does not drag off. The pink layer under the skin is the smoke ring, not undercooked meat; see smoked turkey.
Deep-fried. Let the turkey drain and rest about 20 minutes, as USDA advises. The skin is brittle, so slice the breast with a gentle sawing stroke to keep it attached. See deep-fried turkey.
Keeping carved turkey warm and safe
- Warm the platter and pour a few spoonfuls of hot broth over the slices before they go to the table.
- Cover loosely with foil if dinner is delayed by a few minutes.
- For a longer hold, put the sliced turkey in a baking dish with a little broth, cover it tightly with foil, and keep it in a low oven. Hot food being held should stay at 140°F or above, out of the 40 to 140°F range USDA calls the Danger Zone.
- Serve hot gravy. It rescues slices that have cooled.
- Two-hour limit. USDA says turkey, stuffing and gravy left at room temperature longer than 2 hours should be discarded. Clear the platter and refrigerate what is left before dessert goes long.
Can you carve a turkey ahead of time?
Yes, and for a large gathering it is often the calmer plan. Two approaches:
- Thirty to sixty minutes ahead. Carve as above, arrange the meat in a baking dish, moisten with broth, cover tightly, and hold in a low oven as described.
- The day before. Roast the turkey to 165°F, rest, carve, and refrigerate the meat in shallow covered containers within 2 hours. On the day, add broth, cover with foil, and reheat in an oven set no lower than 325°F until the meat reaches 165°F, as USDA directs for leftovers. Reheat gravy to a rolling boil.
Do not partly cook a turkey one day and finish it the next. USDA warns against partial cooking.
What to do with the carcass and leftovers
Once the platter is full, pull the remaining meat off the frame with your hands; there is always more than it looks like, especially on the back and around the thigh sockets. Then:
- Refrigerate leftovers within 2 hours of the turkey coming out of the oven, in shallow containers so they chill quickly. USDA advises slicing the breast meat; legs and wings can be left whole.
- Use within 3 to 4 days, or freeze. For a Thursday, November 26, 2026, dinner, that means eating or freezing leftovers by Monday, November 30. Frozen cooked turkey keeps best quality for 2 to 6 months.
- Make stock. Break the carcass into a large pot with an onion, a carrot, a celery rib and a bay leaf, cover with cold water, and simmer gently for 2 to 3 hours. Strain, cool quickly, and refrigerate within 2 hours. Use within 3 to 4 days or freeze.
Common carving mistakes
- Carving too soon. A turkey cut straight from the oven floods the board and dries out on the plate.
- A dull knife. It shreds the meat and pulls the skin off. Sharpen or hone the knife before guests arrive.
- Slicing the breast on the bird. You end up cutting with the grain, and the slices fall apart.
- Cutting through bone. Aim for the joints.
- Slicing everything at once. Carve one breast half and one leg first; do the rest if it is needed.
- A slippery board. Put a damp towel under it.
- A cold platter. Thin slices lose heat in a minute or two on cold china.
How many servings to expect
If you bought by the usual rule of 1 to 1½ pounds of whole turkey per person, a properly carved bird covers dinner with leftovers to spare. A 12- to 15-pound turkey serves 10 to 12, according to The Kitchn. Getting the breast off the bone in whole pieces and picking the frame clean is what makes the difference between running short and having enough. Sizing is covered in how much turkey per person, and roasting times by weight are in how long to cook a turkey.
With the turkey carved and on the table, what remains is dessert. Our apple pie and pumpkin recipes can both be made a day ahead.
Frequently asked questions
How long should a turkey rest before carving?
At least 20 minutes, according to USDA. Test kitchens usually recommend 30 minutes for a whole turkey and 15 to 20 minutes for a turkey breast. The rest lets the juices set and makes the meat easier to slice.
What is the easiest way to carve a turkey?
Take it apart before slicing. Remove both legs, then both wings, then cut each breast half off the bone in one piece and slice it crosswise on the board. It is easier and neater than slicing the breast while it is still on the bird.
Do you carve a turkey with or against the grain?
Against the grain. Once a breast half is off the bone, slice it crosswise. That shortens the muscle fibers and makes each slice more tender.
What knife is best for carving a turkey?
A sharp 8- to 10-inch chef's knife or slicing knife. A thin boning knife helps around the joints. Sharpness matters more than the style of knife.
Should you cover a turkey while it rests?
It is optional. A loose foil tent keeps the surface warmer, but it traps steam and softens the skin. For crisp skin, leave the turkey uncovered; it stays hot for 30 minutes either way.
Can I carve the turkey the day before?
Yes. Carve it, refrigerate the meat in shallow covered containers within 2 hours, and reheat it the next day covered with a little broth in an oven set no lower than 325°F until it reaches 165°F.
How do you keep carved turkey warm without drying it out?
Put the slices in a baking dish with a little hot broth, cover tightly with foil and hold in a low oven so the meat stays at 140°F or above. Serve on a warmed platter with hot gravy.
How thick should turkey slices be?
About ½ inch for breast meat. Thinner slices cool and dry out quickly; thicker slices hold heat and juice better.
Sources
- USDA FSIS – Turkey Basics: Safe Cooking (standing time)
- USDA FSIS – Let's Talk Turkey (storing and reheating)
- USDA FSIS – Leftovers and Food Safety
- USDA FSIS – Stuffing and Food Safety
- USDA FSIS – Turkey: Alternate Routes to the Table
- McCormick – Turkey Carving 101
- The Kitchn – How to Cook a Turkey (resting and carving)
- The Kitchn – Herb Roasted Turkey Breast (carving a breast)
Log in to comment
No comments yet. Be the first.